English
 Arabic


Choosing a copper busbar machine is a four number problem before it is a brand problem: the maximum width, maximum thickness, largest hole diameter and tightest bend in your heaviest repeating part, and everything else including force class, die package and price follows from those four. Buyers who start from a catalogue page usually end up with either too little capacity or a machine loaded with options they will never use. The useful margin is one class above your hardest part, not the largest machine available, so a shop whose work fits 12 mm x 150 mm with a 25 mm hole does not need an 800 kN frame. Confirm the die package in writing, confirm the electrical build and controller language for the site, and require a factory acceptance test on your own sample drawings before shipment.
Take the drawing with the largest cross section that you will make more than a few times a year. Not the biggest one ever quoted, and not the average one. From that drawing record the width, thickness, hole diameters, bend angles, bend direction and the distance between adjacent bends. That set of values is your requirement, and any machine that cannot meet all of it is not a candidate regardless of price.
In a Saudi or GCC panel shop the hardest part is usually not the widest bar but the combination of a wide flat bend and a tight edge bend on the same component. Recording both on the same sheet is what prevents the common mistake of buying on width alone.
| Requirement | Entry class | Mid class | Large class |
|---|---|---|---|
| Maximum width x thickness | 150 x 12 mm | 200 x 16 mm | 250 x 20 mm |
| Largest hole diameter | 25 mm | 30 mm | 34 mm |
| Vertical bend | 10 x 100 mm | 12 x 120 mm | 12 x 120 mm |
| Nominal force | 300 kN | 500 kN | 800 kN |
| Typical workshop fit | Small panels, repair work | General panel building | Heavy distribution, thick bars |
Note where the classes stop improving. Vertical bend capacity and motor power often stay the same between the two larger classes, so a buyer who needs a wide flat bend but also needs heavy edge bending has to check the edge column separately rather than assume it scales. The LTMC 303U-3-C, 503U-3-C and 803U-3-C follow exactly this pattern: vertical bend stays at 12 x 120 mm from the 503 upward while width and thickness continue to grow.

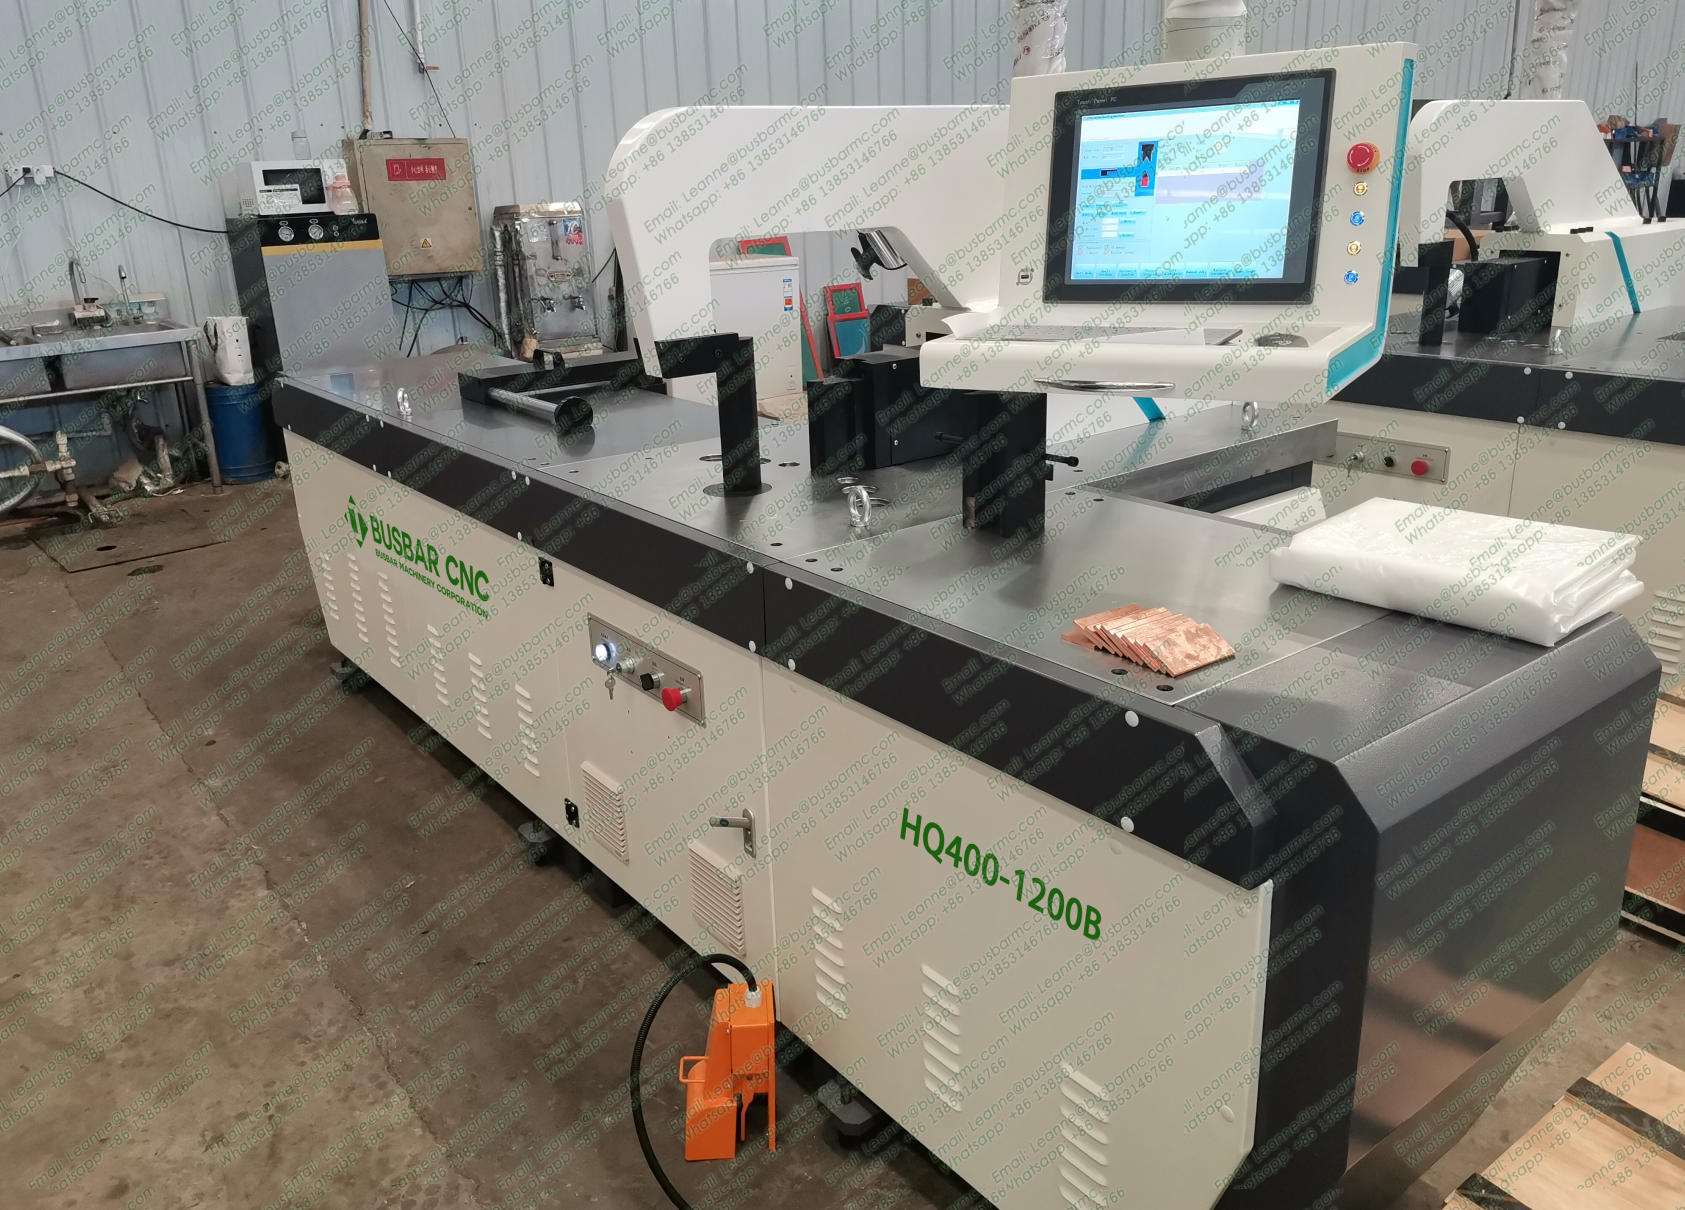
The machine is a frame, a hydraulic system and a controller. What actually makes parts is the die package. Confirm the punch shapes and diameters supplied, the bend radii, whether a U die and a large radius die are included, and whether twist or emboss are options or standard. A quotation that lists a machine without a die list is not comparable with one that does, because the difference in tooling can be a large part of the total price.
Standard bend radii on the LTMC range are R3, R5, R10 and R80 or R50, plus a U die. Punch dies are supplied in round and oblong families, and embossing and twist are optional. Ask for the itemised die list as a separate attachment, not as a line in an email.

Voltage, frequency, phase count and controller language all have to match the site. A machine built for 380 V 50 Hz will not run on a 440 V 60 Hz supply without a transformer, and a controller with only Chinese and English menus is a daily obstacle for an operator who works in Arabic. These details are cheap at order time and expensive afterwards.
For Saudi Arabia the standard build is 380 V 50 Hz; 400 V 60 Hz, 415 V 50 Hz and 220 V 60 Hz are available when declared at order. Confirm also whether the HMI needs an Arabic or bilingual interface, because this affects both the panel firmware and the operator training material.
Send your own sample drawings and ask for a factory acceptance test on those samples, with the measured angle, hole position and cut face recorded. Then repeat the critical sample after installation. This single step catches more problems than any specification review, because it tests the machine against your work rather than against a brochure.
Record on the FAT sheet: measured bend angle against drawing, hole position against datum, tear zone as a percentage of thickness, and the punch and die identification actually used. That sheet becomes the baseline for every later maintenance decision.
No. Force above what your work needs buys nothing and costs more in power, floor space and price. The useful margin is one class above your hardest part, not the largest machine available.
Enough to cover every hole diameter and bend radius on your current drawings, plus one spare of the most used punch. Buying dies later costs more in freight and downtime than including them in the original order.
Ask for the capacity at the width you actually specified. A quotation that only repeats the headline thickness at an unspecified width has not been checked against your part.